

Why It Matters
How it Works
1
Open the Share popup
Click the Share icon next to your property, your reservation, or any specific article in the Content Hub.
2
Pick your link type and click Generate QR
Choose general share, reservation, or public link depending on the situation. At the bottom of the popup, click Generate QR. The QR code appears underneath the link.
3
Save and use
Right-click the QR image to save it. Drop it into a print design, a welcome card, a digital sign, or any place guests will be standing when they need access. Print, laminate, stick.
Pricing
QR code generation is included on every plan, including the free plan. Generate as many as you need, no limits.
How to Create QR Codes For Digital Guidebooks
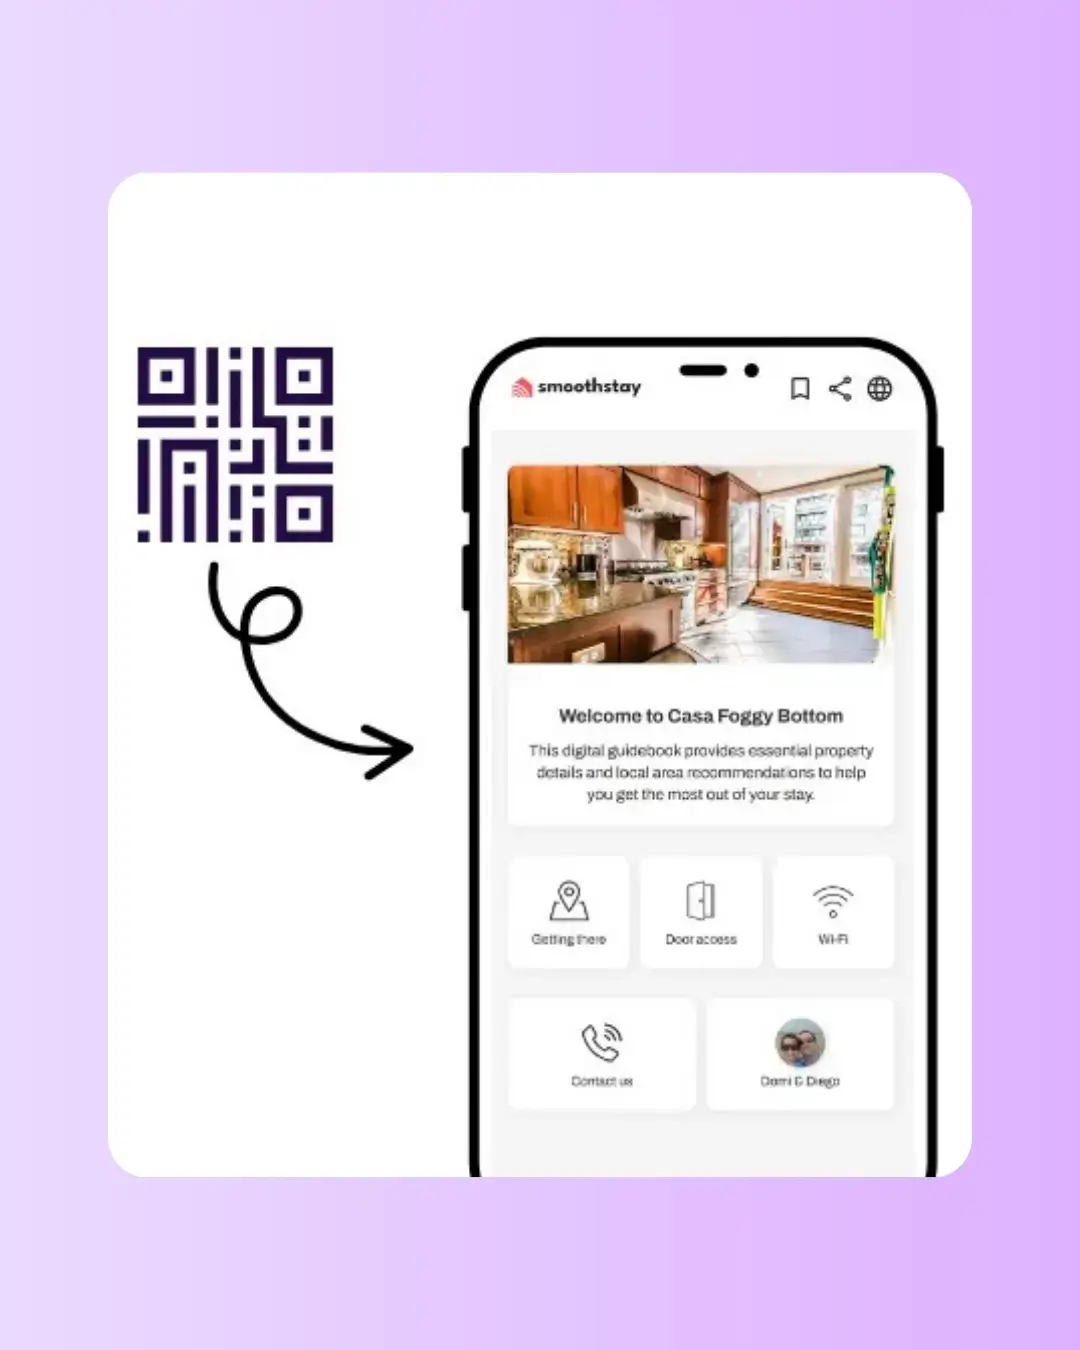
Use deep-link QRs for the spots where guests get stuck. A QR labeled "Wifi" on the router. A QR labeled "Parking" by the front door. A QR labeled "Local food" on the kitchen counter. Each one opens directly to the relevant article instead of forcing the guest to navigate the full guidebook on their phone. Two minutes of setup. Years of fewer questions.
Always label your QR code with what it does. "Scan for our guidebook" is fine. "Open guidebook" or just an unlabeled code is a problem — guests don't know if it's safe to scan, what they'll get, or whether their phone is even pointed right. Add a one-line label and a small icon, and adoption rates go up immediately.
For QR codes you're printing on physical materials, we recommend generating the code from a permanent link — general share or public — instead of a reservation link. Reservation links expire after check-out, so a printed QR using a reservation link will not show restricted articles. Permanent QRs on welcome cards. Reservation QRs on guest-specific emails or messages.
Related features